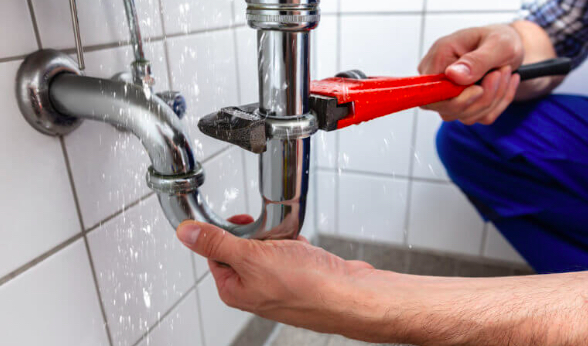
Plumbers install and repair the pipes and fixtures that provide water, gas, waste disposal, and heating. They also inspect, test, and analyze systems to ensure compliance with regulatory codes.

The work can be physically demanding as plumbers often spend their days on their feet and lifting heavy materials. They also need good interpersonal skills to communicate with customers and other construction professionals.
Plumbers install pipes and fixtures that facilitate water and sewage distribution in homes and businesses. Their responsibilities include testing and repairing malfunctioning units, installing new parts, and making sure that all systems are up to code. They also collaborate with other professionals to ensure that plumbing is seamlessly integrated into construction projects. They may also respond to emergency calls for clogged drains or burst pipes.
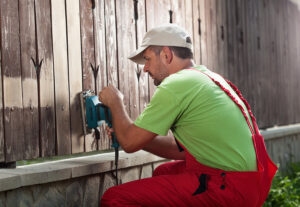
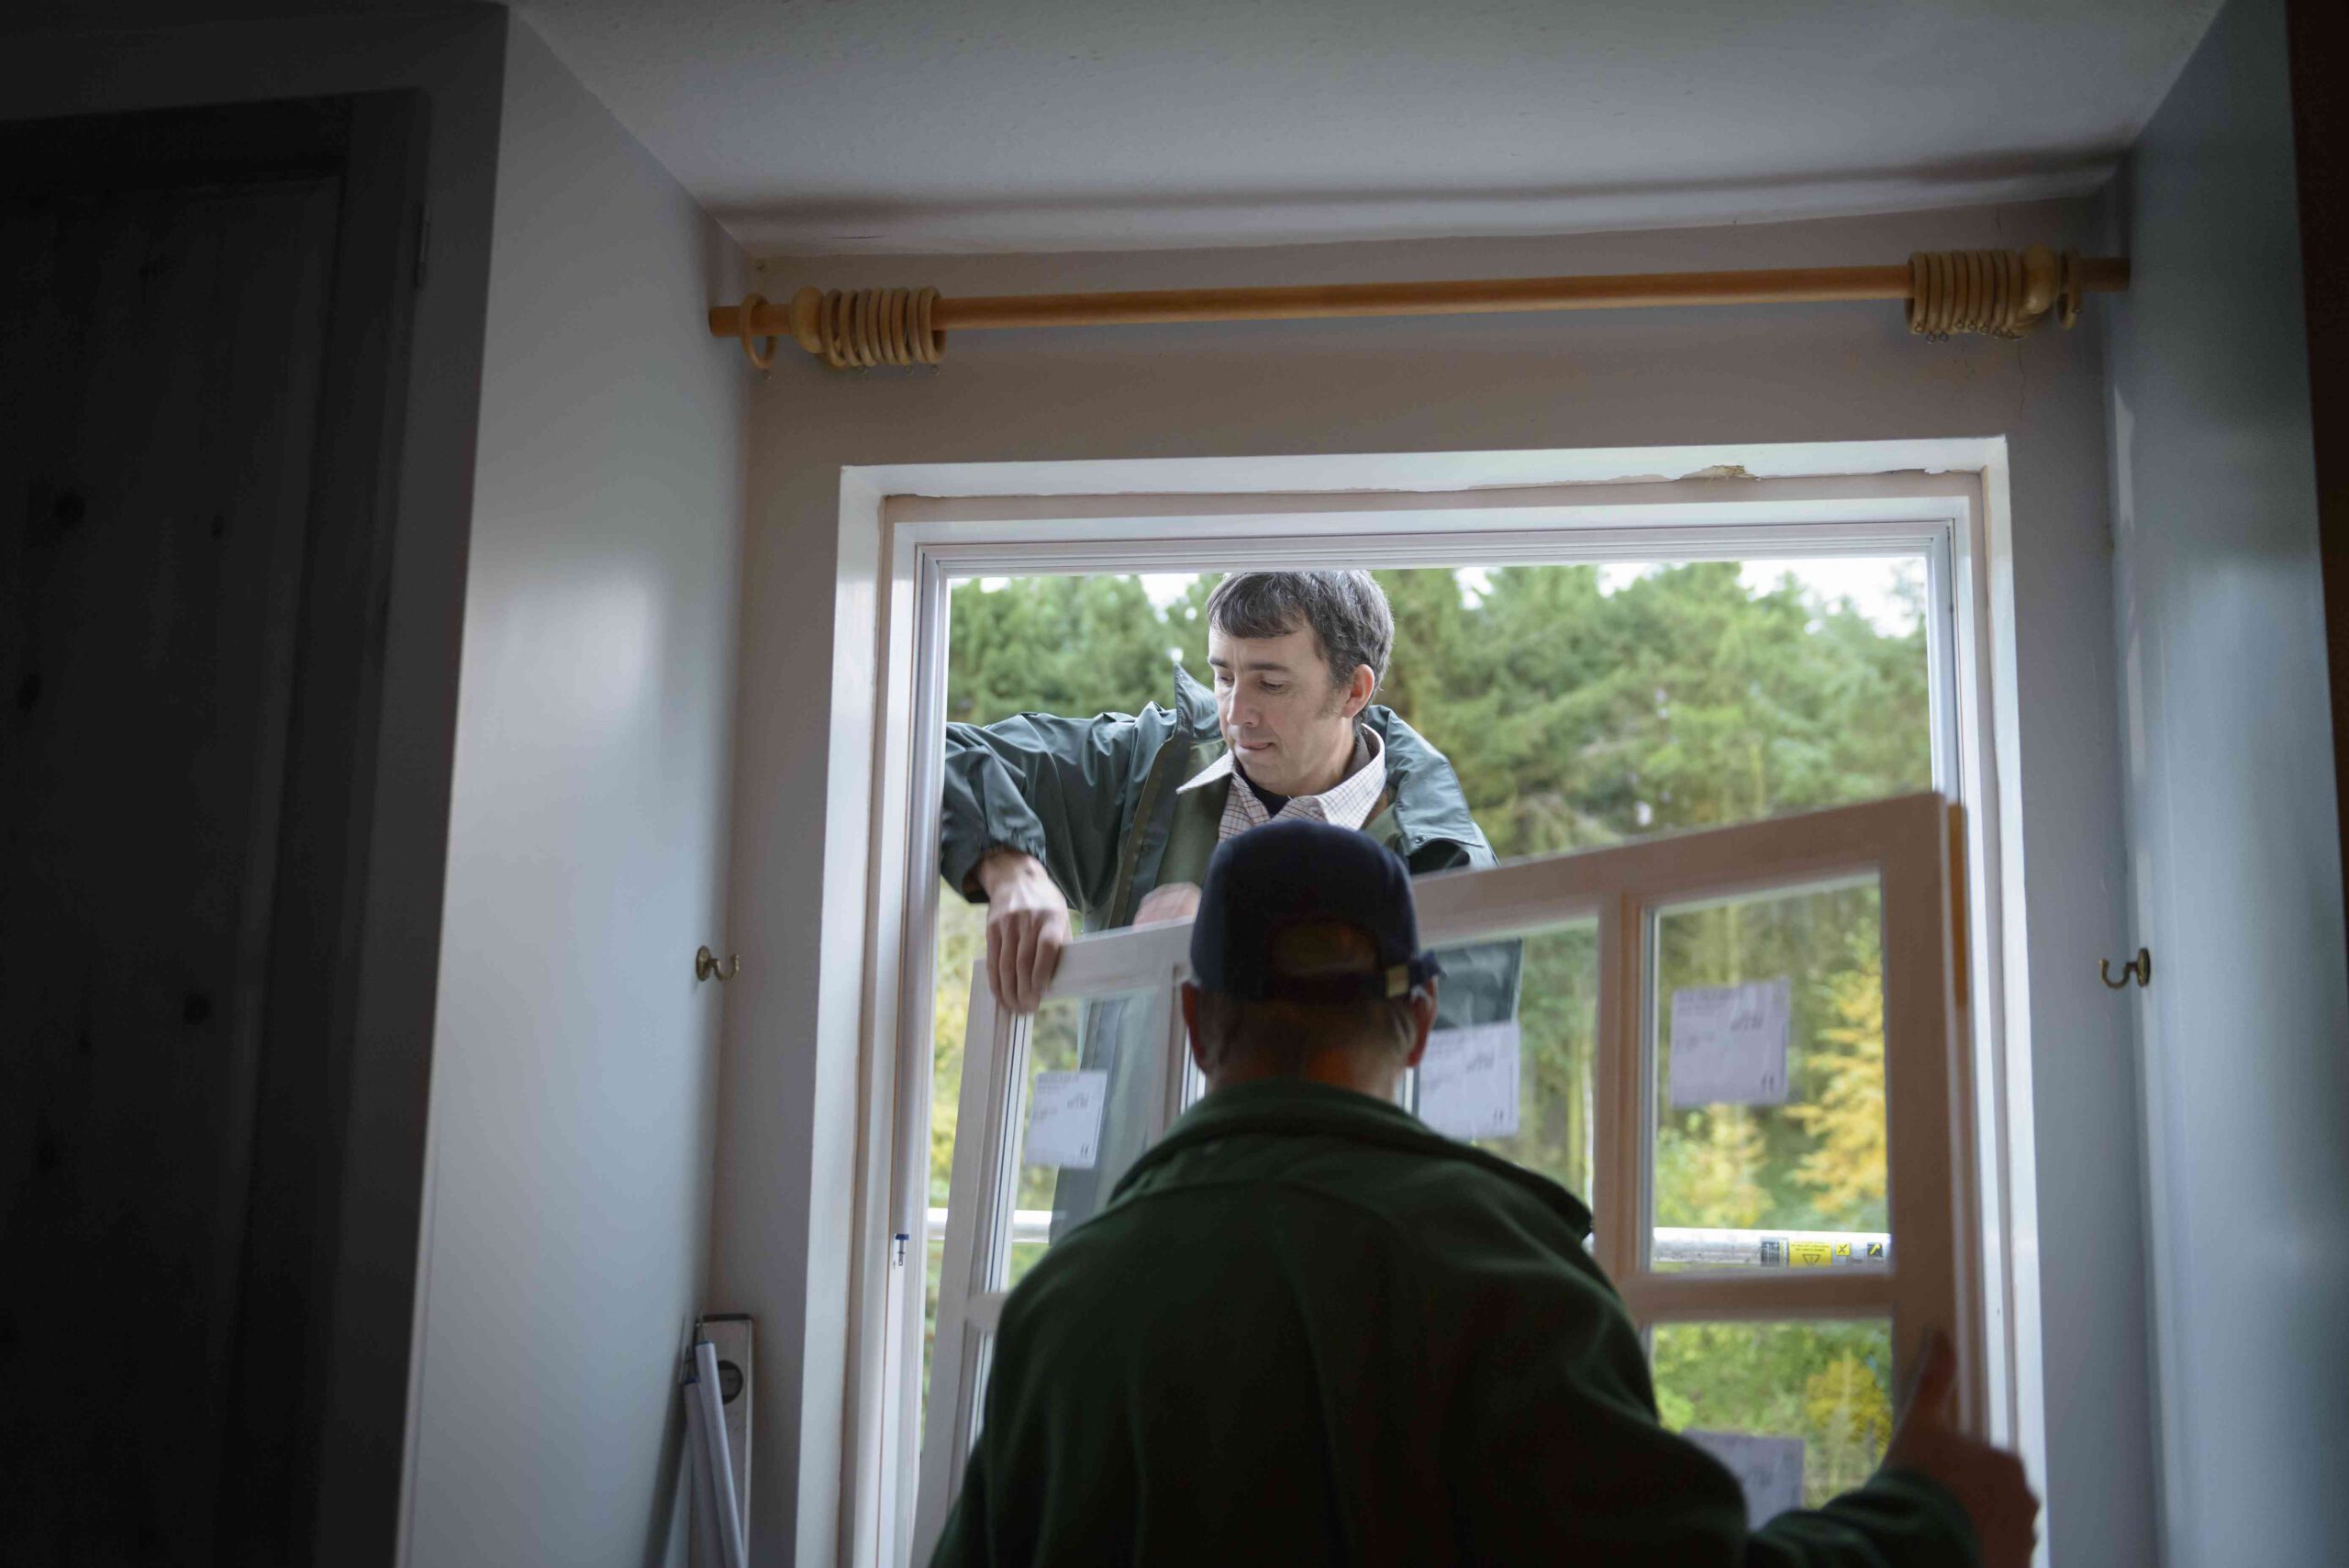
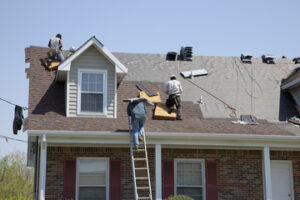
Plumber duties depend on the type of job at hand and can vary greatly between industries. Some plumbers work exclusively in residential settings, focusing on issues such as leaky faucets, broken toilets, and damaged water heaters. Other plumbers have more extensive industrial experience and may work on larger-scale plumbing projects, such as constructing entire kitchens or bathroom renovations. Regardless of industry, all plumbers must be familiar with local plumbing codes and regulations to ensure the safety of their clients.
Because of the hazardous materials involved in some plumbing tasks, plumbers must take special care to protect themselves from exposure. This may involve wearing protective clothing and using non-toxic cleaning solutions. In addition, they should never put their hands or feet in any contaminated water sources. Plumbers who work with sewage, in particular, are at an increased risk of infection due to the presence of dangerous microbes such as cholera, typhoid, and hepatitis.
Most plumbers pursue an apprenticeship program after graduating from high school or completing a vocational college course. These programs last between four and five years and combine classroom learning with practical hands-on training. They are typically sponsored by trade unions or local contractors, and participants must meet a certain number of educational and on-the-job hours to complete the program.
After completing an apprenticeship, plumbers can apply for licensing in their state or city. This process varies by jurisdiction, but most states require plumbers to pass an exam and have years of relevant experience. In some cases, plumbers may choose to pursue additional certifications to increase their marketability to potential employers or clients. For example, many plumbers become certified in water conservation techniques or are trained to handle natural gas.
Maintenance
Plumbers are responsible for installing, repairing, and maintaining plumbing systems in residential, commercial, and industrial settings. Their work ensures that people have access to clean drinking water, efficient drainage, and sanitary waste management. They often collaborate with other trade professionals to ensure that plumbing systems are integrated seamlessly into building projects and meet all necessary regulations. Plumbers also use their skills to inspect and diagnose problems with pipes, fixtures, and appliances.
In residential settings, plumbers usually work directly with homeowners or tenants to repair plumbing fixtures and pipes. This can include unclogging drains, fixing toilets, and installing sinks, bathtubs, and water heaters. Plumbers in this field must have excellent customer service skills to interact with customers and provide estimates for their services.
Commercial and industrial plumbers usually work on large-scale plumbing systems that serve multiple occupants at once, such as office buildings, hospitals, factories, and power plants. These systems require more complex plumbing equipment and higher-capacity water tanks and pipes. Commercial and industrial plumbers also need to understand how these systems integrate with fire sprinklers and other safety equipment.
Some plumbers specialize in maintenance and service, rather than installation. These plumbers typically work on-call to address plumbing issues that arise outside of regular business hours. They may need to travel between jobs and work on weekends to respond to urgent calls for help. These plumbers need to have strong problem-solving skills to quickly identify and fix issues like leaky faucets, clogged drains, and water heater failures.
Plumbers need to have physical strength and good motor skills to maneuver tools and work in tight spaces. They also need to be comfortable working around bacteria and other hazardous materials, such as sewage, which can cause infectious diseases like cholera, typhoid, hepatitis, and schistosomiasis. In addition to these physical requirements, plumbers must have the mental flexibility to solve complex problems in a short amount of time. They also need to be able to read blueprints and diagrams in order to understand the layout of plumbing systems and make accurate repairs.
Repair
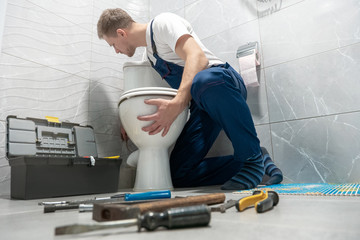
A plumber can repair many different problems, such as clogged drains, leaky faucets, running toilets, and more. They can also install new fixtures, such as sinks and bathtubs. In addition, they can handle sewage issues and replace water heaters. They also have the skills to handle gas pipe repairs and installation.
Plumbing problems are never good, and it’s important to get them fixed as soon as possible. If left unattended, these problems can lead to expensive damage. Many people try to fix their own plumbing issues, but it’s often best to leave it to a professional. This will save time and money in the long run.
Plumbers must be able to understand and interpret blueprints in order to properly install pipes in residential and commercial buildings. They also need to be familiar with local codes and ordinances regarding home construction and plumbing. This is why it’s important to hire a plumber with experience in your area.
Service and repair plumbers are responsible for maintenance and troubleshooting tasks in both residential and commercial settings. They must have excellent problem-solving skills and be able to work with a variety of tools. These plumbers are usually on-call and may work evenings or weekends.
These plumbers are primarily concerned with sewer lines and other waste-management systems. They may be called to inspect and repair a faulty line, or they may be hired to install an entire sewage system. This is a very dangerous job, as the plumbers will be dealing with human waste and disease-causing microbes.
Some common signs that a sewer line is leaking or damaged include strange sounds, a sluggish flow of wastewater, and stains around sinks and toilets. Plumbers can use high-powered water jets to clean sewage lines and repair any damages. They can also remove garbage from septic tanks and drains. While these aren’t as dangerous as working with human waste, they still pose a health risk to plumbers. Therefore, they should wear protective gear when performing these duties. Also, they should be able to handle the stress and physical demands of the job.
Sales
As a plumbing professional, you may have the opportunity to sell other services at each service call. These additional sales opportunities can increase your bottom line and build customer loyalty. However, this requires a high level of integrity and ethics. You should never lie to a homeowner or try to upsell them something they don’t need. You can also use these extra opportunities to promote your business and generate new leads.
People who hire plumbers want a reputable company that will treat them with respect and offer fair prices. In order to do this, plumbers must have an understanding of what the public is looking for in a plumbing professional. They should also make sure they know how to market their services effectively to attract the right clientele.
Plumbers can also work on heating, cooling and ventilation systems, install water filters and purification systems, and inspect sewer and storm drains. They also need to understand national and local building codes, safety laws, and the use of pressure gauges. They may also need to understand copper, PVC, stainless steel and galvanized piping systems.
In addition to these skills, plumbers must be able to communicate clearly with customers and write comprehensive reports. They must be able to analyze the problem and come up with the most cost-effective solution. Additionally, plumbers need to be able to work independently and think quickly. They also need to have the ability to manage their own time, schedule appointments and follow up with customers.
The career of a plumber offers many benefits, including the potential to earn a good living and learn new skills. In addition, plumbers can move up the ladder quickly, earning more money each year as they gain experience and skills. Those who are interested in becoming a plumber should look into local training programs and apprenticeships.
Plumbers are a necessary part of the construction industry, and they play an important role in society by providing clean drinking water and safely removing waste. They can also improve their community’s infrastructure, and they often develop lifelong friendships with other trade professionals. As a result, they can feel proud of the work that they do.